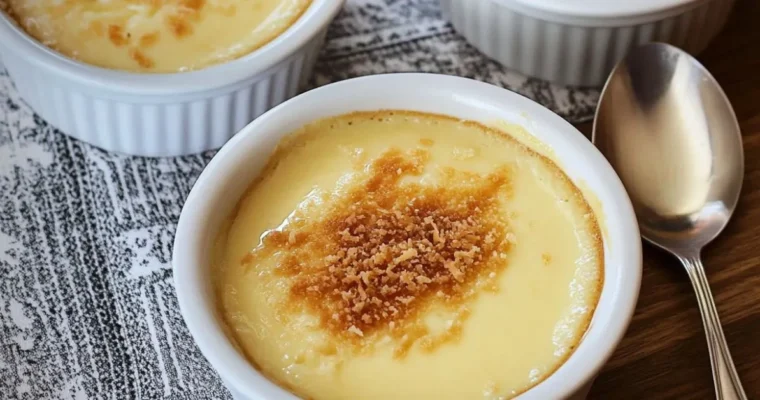
Coconut Custard: The Perfect Classic Dessert
Make Coconut Custard effortlessly with our easy recipe. A rich, comforting dessert that’s perfect for any occasion!
Make Coconut Custard effortlessly with our easy recipe. A rich, comforting dessert that’s perfect for any occasion!
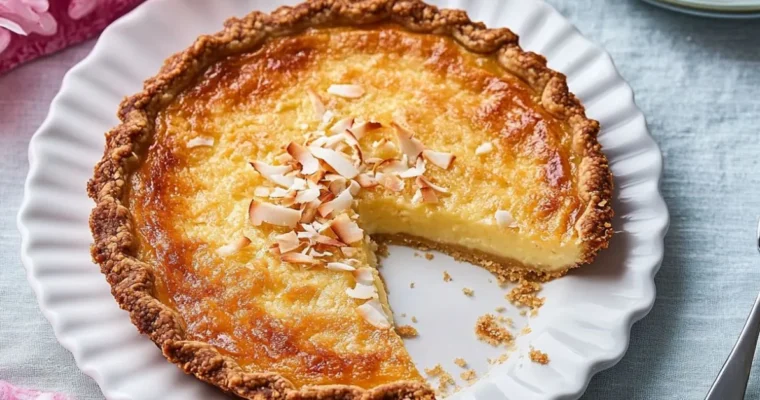
Learn how to make a delicious Coconut Custard Pie with our easy step-by-step recipe. Perfect for any dessert lover!

When it comes to fall desserts, pumpkin reigns supreme, bringing its warm and comforting flavor to the forefront of countless recipes. One way to elevate your fall treats is by incorporating pumpkin ganache—a rich, creamy blend that takes traditional desserts to new heights. Whether you’re preparing pies, cakes, or other sweet delights, this pumpkin ganache recipe will add that extra layer of decadence you’ve been craving.
Let’s dive into the secrets of creating this velvety masterpiece and how you can use it to wow your family and friends this season.
Ganache is a luxurious dessert staple traditionally made with chocolate and cream, lending a smooth texture and decadent flavor to any recipe. But what makes pumpkin ganache so special? This twist combines the creaminess of traditional ganache with the earthy, spiced sweetness of pumpkin.

The beauty of this recipe lies in its versatility. Here’s how you can use it to transform your desserts:
Pie Topping: Spread a generous layer of ganache over pumpkin, pecan, or apple pies for a stunning glossy finish.
Filling for Tarts and Cakes: Use the ganache as a luscious filling for tart shells or between cake layers to add depth and richness.
Drizzle Over Desserts: Slightly warm the ganache and drizzle it over pancakes, waffles, cheesecakes, or brownies for a gourmet touch.
Dip for Fruits and Cookies: Serve it as a dip for apple slices, strawberries, marshmallows, or cookies during parties or cozy evenings.
Layered Parfaits: Create elegant parfaits by layering ganache with whipped cream, granola, or crushed cookies in a glass.
Here are some expert tips to ensure your ganache turns out perfect every time:
Pumpkin ganache is a versatile and delicious treat that can be customized to suit a variety of tastes, preferences, and dietary needs.
This ganache can be served in countless ways. Here are a few ideas to spark your creativity:
Proper storage and reheating techniques are essential to maintaining the ganache’s texture and flavor.
1.What is pumpkin ganache used for?
It is a versatile addition to desserts, serving as a topping, filling, drizzle, or dip. It’s perfect for pies, cakes, tarts, and more.
2.Can I make pumpkin ganache ahead of time?
Yes! You can make it ahead of time and keep it stored in the refrigerator for up to one week.
3.Is it possible to substitute milk chocolate for white chocolate?
Absolutely! Milk chocolate will create a richer, slightly sweeter ganache that complements the pumpkin beautifully.
4.Why is my ganache grainy?
Grainy ganache can occur if the chocolate overheats or the cream isn’t hot enough. Reheat gently and whisk to fix the texture.
5.How do I thin out thick ganache?
Simply add a teaspoon of warm cream at a time and stir until the desired consistency is achieved.
6.Can I flavor the ganache differently?
Definitely! Try adding a pinch of nutmeg, cardamom, or a splash of flavored liqueur like Baileys or amaretto.
Pumpkin ganache is a simple yet extraordinary way to elevate your fall desserts. Its creamy, spiced flavor and versatility make it a must-try for anyone who loves experimenting in the kitchen. Whether you’re topping pies, filling cakes, or creating elegant parfaits, this ganache will impress every time.

Savor Caramel Pumpkin Pie, a creamy and comforting dessert for any occasion.

These oatmeal cream pie cookies are soft, chewy, and filled with creamy vanilla frosting, just like the classic treat you love!

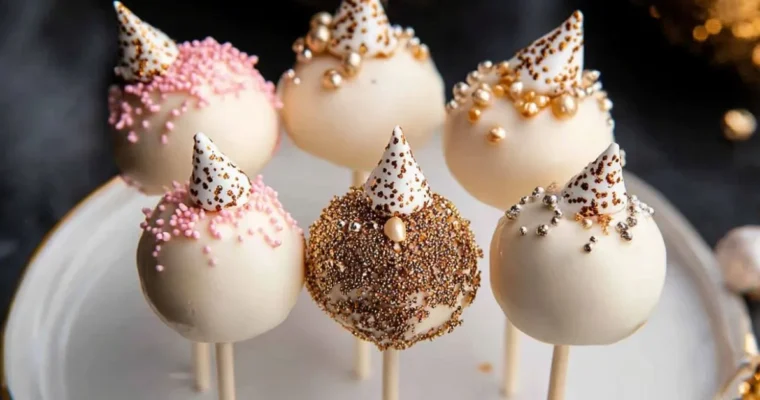
Cake pops have become a favorite dessert for many because of their unique ability to turn traditional cake into a bite-sized, portable treat. Among the many varieties, cookies and cream cake pops take this concept to the next level by incorporating the beloved flavors of chocolate cookies and creamy frosting. With their rich, indulgent taste and customizable decoration options, cookies and cream cake pops are the perfect dessert for celebrations, gifts, or even a casual sweet craving.
This guide will walk you through every step of the process, offering tips and tricks to help you master the art of creating these delightful treats at home.
Cookies and cream cake pops are a crowd-pleaser for many reasons. Let’s explore why this dessert is worth making:

One of the joys of making cookies and cream cake pops is how easily you can customize the recipe. Here are a few ideas to spark inspiration for your next batch:
Presentation can elevate your cake pops from delicious treats to show-stopping desserts. Here are a few serving ideas to wow your guests:
1.Can I make cake pops ahead of time?
Yes! Cake pops can be made a day or two ahead and stored in an airtight container. This makes them a practical and convenient choice for parties and events.
2.Why are my cake pops cracking?
Cracking occurs when the temperature difference between the cake ball and the candy coating is too great. Ensure your cake balls are slightly chilled but not frozen and that your candy melts aren’t too hot.
3.What can I use if I don’t have lollipop sticks?
You can use pretzel sticks or sturdy straws as an alternative. These add a unique touch to the presentation.
4.Is it possible to use different flavors for the cake and frosting?
Absolutely! Feel free to experiment with different cake and frosting combinations to craft unique and exciting variations. Try red velvet cake with cream cheese frosting for another crowd-pleaser.
Cookies and cream cake pops offer a delightful combination of flavor, creativity, and fun. Whether you’re making them for a celebration or just because, they’re guaranteed to be a hit with anyone who tries them.
Now it’s your turn—grab your ingredients, follow this guide, and let your creativity shine. After mastering the basics, you’ll find endless possibilities for customization. Don’t forget to share your creations and spread the joy!
Learn how to make birthday cake pops at home with this easy recipe. Perfect for parties, celebrations, or a fun treat!

Try Pumpkin Dump Cake with spice cake mix for a flavorful and effortless fall treat.
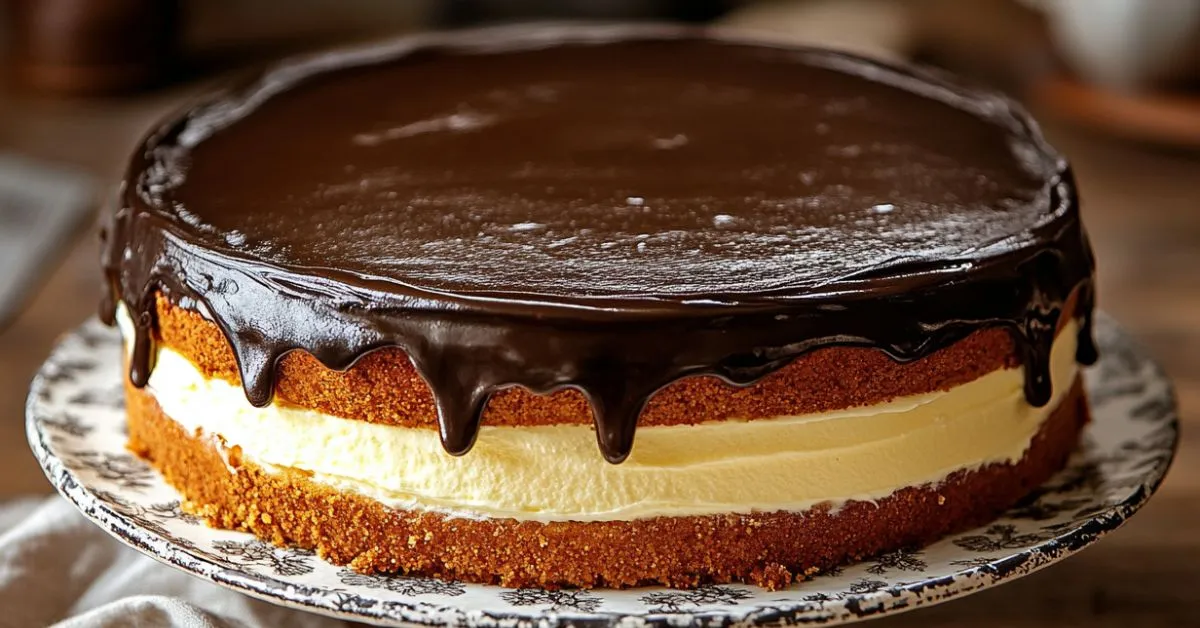
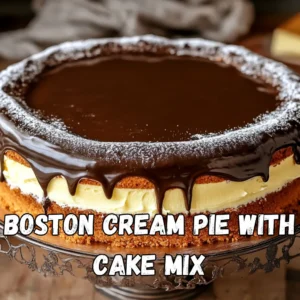
There’s something timeless about desserts that stand the test of time, and Boston Cream Pie is no exception. Its origins date back to the mid-1800s, yet its appeal is as fresh and relevant as ever. This classic treat, with its luscious layers of tender cake, creamy custard, and decadent chocolate glaze, has been gracing dessert tables for generations.
But let’s face it—traditional baking can sometimes feel like a daunting task, especially if you’re pressed for time or new to the world of desserts. That’s where this Boston Cream Pie with Cake Mix recipe comes in. It delivers all the indulgence of the original, but with a fraction of the effort. You’ll achieve bakery-quality results without needing to be a professional pastry chef.
So, put on your apron and get ready to make a dessert that’s not only delicious but sure to be a delightful conversation starter.
Boston Cream Pie is a delightful contradiction. Despite its name, it’s actually not a pie! Instead, it’s a layered cake featuring yellow sponge, a rich custard filling, and a glossy chocolate ganache topping. The “pie” part of its name harks back to a time when cakes and pies were baked in the same pans, and the terms were often used interchangeably.
The dessert was first created in Boston’s Parker House Hotel in the late 19th century. Its elegant simplicity quickly gained popularity, earning it a place in the culinary hall of fame. In fact, it’s so iconic that it was named the official state dessert of Massachusetts in 1996.
Making Boston Cream Pie from scratch can be a rewarding experience, but it’s not always practical for busy schedules. Enter cake mix—a modern solution that lets you enjoy the magic of this dessert with half the effort.
Cake mixes are formulated for reliability, ensuring your cake turns out moist and fluffy every time. This takes the guesswork out of the process, especially for novice bakers.
Instead of spending hours measuring and mixing dry ingredients, you can focus on perfecting the custard and ganache. This makes it an ideal recipe for last-minute gatherings or when you’re short on prep time.
Cake mixes are a blank canvas. Add vanilla bean paste, citrus zest, or even a splash of your favorite liqueur to the batter for a personalized touch. You can also experiment with different flavors, like chocolate or almond.
Presentation: Garnish with chocolate shavings, powdered sugar, or fresh fruit. Serve on a decorative platter for a truly show-stopping centerpiece.
Beverages: Complement the richness of Boston Cream Pie with a hot cup of coffee, a frothy cappuccino, or even a glass of iced tea.
1.What makes Boston Cream Pie unique?
The combination of soft cake, creamy custard, and indulgent chocolate ganache creates a delightful balance of flavors and textures, making it a timeless favorite.
2.Is it possible to use a different flavor of cake mix?
Vanilla, butter, or even lemon cake mix can pair beautifully with this recipe, adding unique flavors to the dessert.
3.How do I store Boston Cream Pie?
Keep it in an airtight container in the refrigerator for up to 3 days to preserve its quality.
4.Can I freeze Boston Cream Pie?
Freezing is not recommended as the custard filling can become watery when thawed.
5.What’s the best way to slice Boston Cream Pie?
Use a sharp knife that has been dipped in warm water for clean, smooth slices. For the best presentation, wipe the blade clean between each cut.
Boston Cream Pie with Cake Mix is proof that you don’t need to spend hours in the kitchen to create a dessert that wows. This recipe combines the best of tradition and convenience, delivering a treat that’s as impressive as it is delicious.
So why wait? Roll up your sleeves, gather your ingredients, and create a masterpiece that’s sure to become a family favorite. Your taste buds will thank you, and your loved ones will sing your praises. Don’t forget to share your creation—you’re bound to inspire others to try their hand at this classic dessert!
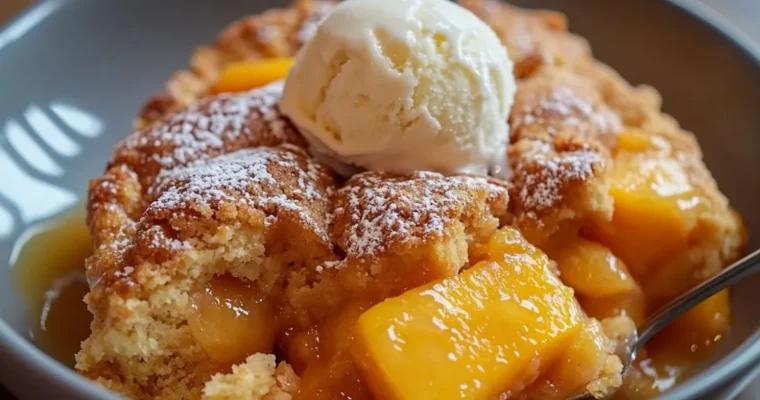
Discover the ultimate peach cobbler dump cake recipe that’s quick, delicious, and perfect for family gatherings or a sweet treat.